dnsmasq解锁奈飞
具体使用
为了方便理解,如下操作,除非特别指明,默认是在已经可以正常观看奈飞服务的vps,暂叫做解锁机,例子中的IP是:23.142.200.1*
安装前需要注意
在安装之前,确保53,80,443端口没有被占用。
在实际的操作过程中,53端口由systemd-resolv占用,需进行如下操作。
- 修改
/etc/systemd/resolved.conf
1 | [Resolve] |
- 重新链接解析配置文件
ln -sf /run/systemd/resolve/resolv.conf /etc/resolv.conf
在执行如上操作之前,更建议先备份当前resolv.conf文件。
1 | lrwxrwxrwx 1 root root 39 Feb 10 2023 resolv.back.conf -> ../run/systemd/resolve/stub-resolv.conf |
清晰对比出两个配置文件的区别。
- 重启systemd-resolved
systemctrl restart systemd-resolved
安装过程
快速安装
1 | wget --no-check-certificate -O dnsmasq_sniproxy.sh https://raw.githubusercontent.com/myxuchangbin/dnsmasq_sniproxy_install/master/dnsmasq_sniproxy.sh && bash dnsmasq_sniproxy.sh -f |
卸载命令
1 | wget --no-check-certificate -O dnsmasq_sniproxy.sh https://raw.githubusercontent.com/myxuchangbin/dnsmasq_sniproxy_install/master/dnsmasq_sniproxy.sh && bash dnsmasq_sniproxy.sh -u |
验证效果
dns解析
在不能观看奈飞的vps上执行如下命令。
指定ip为23.142.200.1*的dns服务器解析www.netflix.com域名。
nslookup www.netflix.com 23.142.200.1*
这里得到的效果
1 | nslookup www.netflix.com 23.142.200.1* |
正确的情况下,解析 www.netflix.com 对应的IP应该就是解锁机的IP。
访问页面
上一步是通过强行指定dns服务器,下一步验证访问。
在不能访问奈飞的vps,修改 /etc/resolv.conf
添加nameserver 之后
1 | nameserver 23.142.200.1* |
再执行
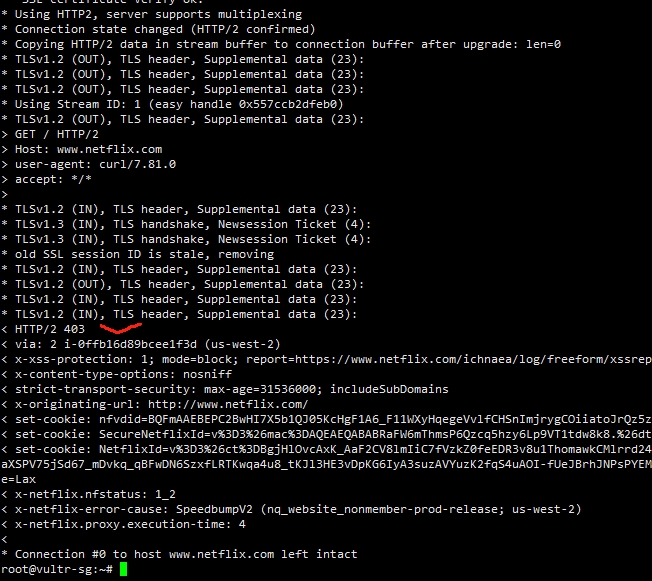
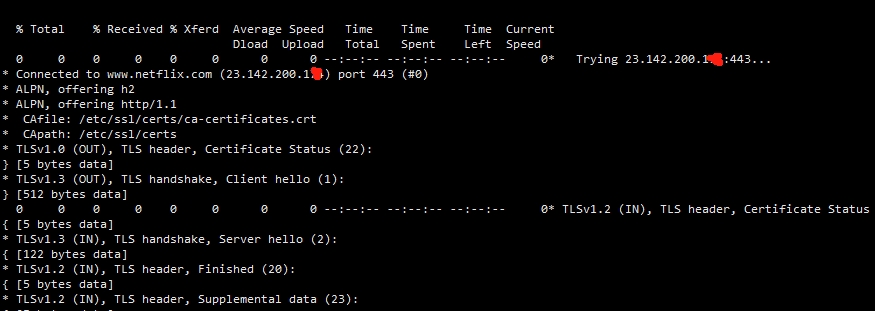
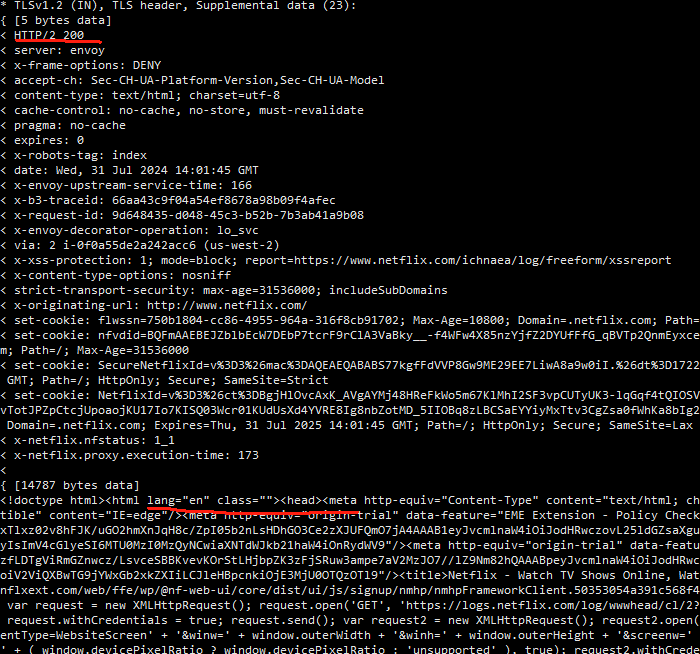
1 | curl https://www.netflix.com -vvv |
不能访问奈飞的vps也可以正常访问奈飞了。


问题
1 | nslookup netflix.com 23.142.200.1* |
除了开放53/tcp,还需要开放53/udp,dns的请求解析协议是udp。
ubuntu命令如下
1 | ufw allow 53/tcp |
如果就这么设置,很快这个解锁机也无法访问奈飞,因为你能访问的同时,其他人也可以访问,解决下拉到 安全。
其次,如果无法访问指定的域名,比如flixnet.com,在dnsmasq中添加需要指向的域名。
配置文件目录为 /etc/dnsmasq.d/custom_netflix.conf ,添加需要指向的域名。
格式为 address=/primevideo.com/156.x.x.x
只有这样,其他机器通过53请求dns指向时,才会返回你指定的ip地址,修改后重启,命令为 systemctl restart dnsmasq。
最后,如果dns域名指向已经改变了,但是还是会遇到打开的网站出现证书错误,需要调整sniproxy的配置,比如在访问 chatgpt.com这个域名时,默认的网页配置并没有这个域名,就需要修改配置文件。
默认配置文件在/etc/sniproxy.conf,按照格式添加需要的域名,比如chatgpt.com就是.*chatgpt\.com$ *
重启sniproxy ,命令是 systemctl restart sniproxy
安全
更建议的设置是:
1 | ufw delete allow 53/tcp |
设置访问白名单。
自动化脚本
自动化脚本出处:https://github.com/myxuchangbin/dnsmasq_sniproxy_install
如果你有一些自己解决不了的问题,可以添加我的频道telegram。